BitBoy - Gameboy Printer
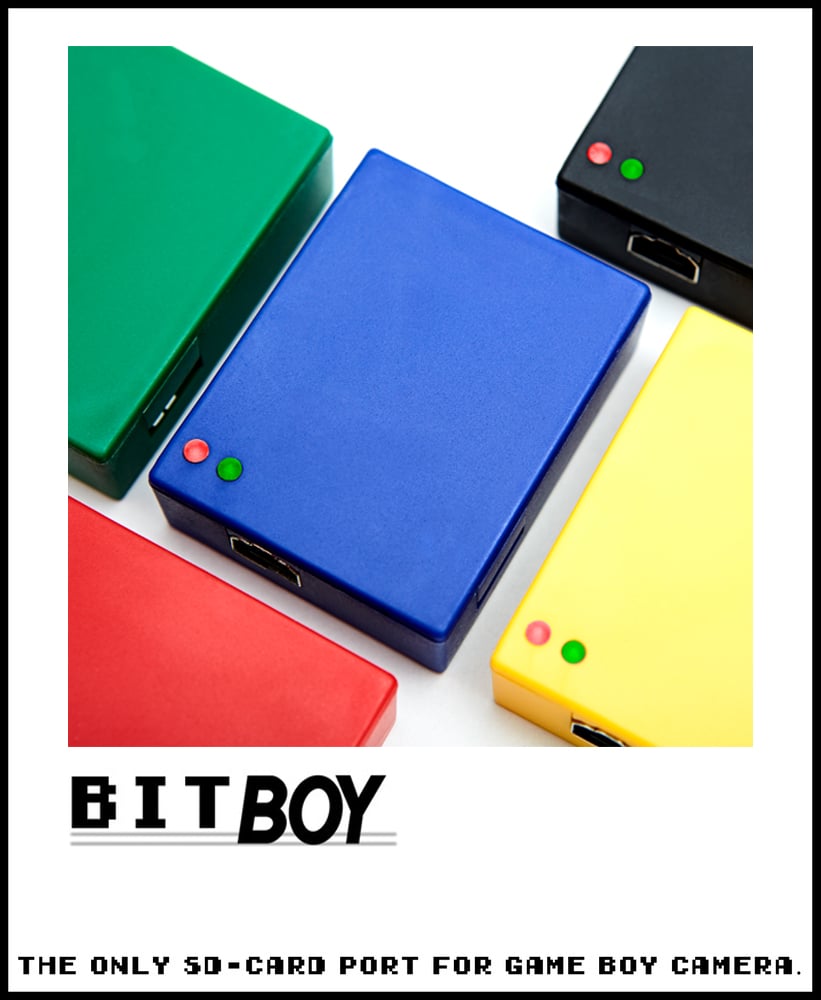
Now available in 5 colors: BLACK, RED, YELLOW, GREEN, BLUE
BitBoy is the first-ever SD-Card port for Nintendo's Game Boy Camera. This device enables ultra-fast data transfer straight from Game Boy Camera to SD-Card.
Whether you want to save your Game Boy Camera photographs in Bitmap (Lossless 8-bit Index Color,) extract your Pokédex information, or transpose your Pocket Planner, BitBoy has got you covered.
Distinguishing itself from previous workflows, BitBoy supports batch image transfers, making it simpler than ever before to upload full Game Boy Camera cartridges in one go (- all 30 photos at once !)
BitBoy uses an internal Lithium-Ion battery, and charges using a standard MicroUSB cable. It has a built-in charge controller that preserves battery life. Plugging the device into your Game Boy turns it on, and two LED status indicators confirm that your transfer has been made successfully.
BitBoy uses FAT32-formatted SD Cards: No drivers required. Works with any OS. No settings, and No On/Off Switch- If your computer or phone can read SD cards, you’re good to go !
In The Box:
- BitBoy
- 3’ Game Boy Link Cable
- 2GB SD-Card
- MicroUSB Charging Cable
Designed by Alexander Bahr Distributed by GameBoyPhoto
Now Shipping !
Files, Software, Guides
-
GBA Backup Tool (Nintendo DS) via GBA Backup Tool - Backup GBA saves & dump a Gameboy Advanced rom using a Nintendo DS
-
Funtoshop for Game Boy Camera v7.0.3 (Windows) via Funtoshop for Game Boy Camera
Guide to MadCatz Workflow
Preparing Your Image
- Shoot Image with Game Boy Camera (A).
- SAVE (A), and press (B) to exit.
- Go to "Check," and navigate to your image.
- Press "Select" on Game Boy to show image Options.
Preparing Your Windows PC
- Install Windows 98 (ver 1) on PC W/ IEEE Printer Port &USB Port.
- Install drivers for IEEE Printer Port.
- Install MadCatz Game Boy Camera Link Software.
- Choose USB Storage Device [We recommend USB thumb drive]
- Install specific USB Storage Device driver.
- Restart PC.
Transferring Your Bitmap File
- Plug MadCatz Game Boy Camera Link Cable to PC; Plug the other end into Game Boy.
- Open MadCatz Game Boy Camera Link Software
- Wait for software to show green light.
- On Game Boy, press PRINT (A)
- [The image is transferred to PC in .bmp file format, 8-Bits, 128X128px, in Indexed Color Mode]
- Title the bmp image, and Save it to PC's Hard Drive.
Preparing Your TIFF (Lossless Archive) File
-
Copy .bmp files onto USB Storage Device, and then Eject Device.
-
Via USB Device, copy .bmp files onto a PC/Mac running Photoshop.
-
Open .bmp files in Photoshop, 'Save As...'> TIFF. [Archive File]
-
[In order to adjust image in Photoshop, resize to 300 dpi BEFORE changing Mode to RGB color space, and "Save As. .." with new title.]
Loading pictures from the Gameboy Camera
So, how does it work? I recommend you take a look at the Gameboy Camera Tutorial that gwem made. It describes the easiest way to get the pictures over to a PC. Required is a device to read regular Gameboy cartridges which can be a bit expensive but also works very fast and easy.
To decode the data into pictures, use one of these programs
gb_cam_dump saves all images as BMP. Gh0st Camera allows to save pictures as GIF, but they are not compressed so the file size is the same as the BMP's. Also with Gh0st Camera, the greys appear a bit too dark, but that may be personal taste.
The other way to get the pictures is by Gameboy Printer emulation. Your PC then pretends to be a gameboy printer and receives the pictures from the Gameboy Camera through the print option.
This also transfers the images's borders which is an advantage over the cartridge readers. Also it is very cheap as you do not need any more devices. Disadvantage is that you have to build a custom cable to connect Gameboy and PC.
I mirror the Gameboy Printer emulation by Matrin Eyre here, although i have never tried it myself (see above)